A practical guide to choosing the right ultrasonic-cleaner test, preparing the bath, recording results and investigating an unexpected response. Includes a product-specific MZS-5635 example.
A useful ultrasonic-cleaner check starts with a defined question. Are you checking cavitation at a location, removal of a standard test soil, or residual protein after cleaning? These are different tasks and need different methods.
1. Choose the method for the question
| Method | What to check | Interpretation boundary |
|---|---|---|
| Cavitation indicator vial | A qualitative response at a defined test location. | Use the specified placement, exposure and read time; no calibrated acoustic value. |
| Cleaning test strip | The response or test-soil removal specified for that strip. | Check its own IFU and equipment compatibility. Strip format alone does not define the measured effect. |
| Aluminium foil test | A physical erosion pattern under controlled conditions. | Compare with a suitable baseline; holes do not demonstrate instrument cleanliness. |
| Acoustic instrument | The quantity and range specified by its manufacturer. | Use the specified setup and any required calibration; do not equate readings with a vial colour. |
See the comparison of ultrasonic cleaning indicators for method selection. Residual protein testing is a separate check on the sampled surface or sample type allowed by that product.
2. Prepare the equipment and the record
Identify the cleaner, test product and current instructions. Confirm compatibility, expiry and initial condition of the consumable. Prepare the water, detergent, concentration, filling level and degassing according to the equipment and detergent instructions. Define the basket, loading condition, temperature, test positions and cycle before starting. Follow the equipment safety precautions.
For meaningful comparison, keep the selected conditions consistent and record any change. Do not combine results from different liquids, temperatures, positions or exposure times as though they came from one unchanged process.
3. Product-specific example: MZS-5635
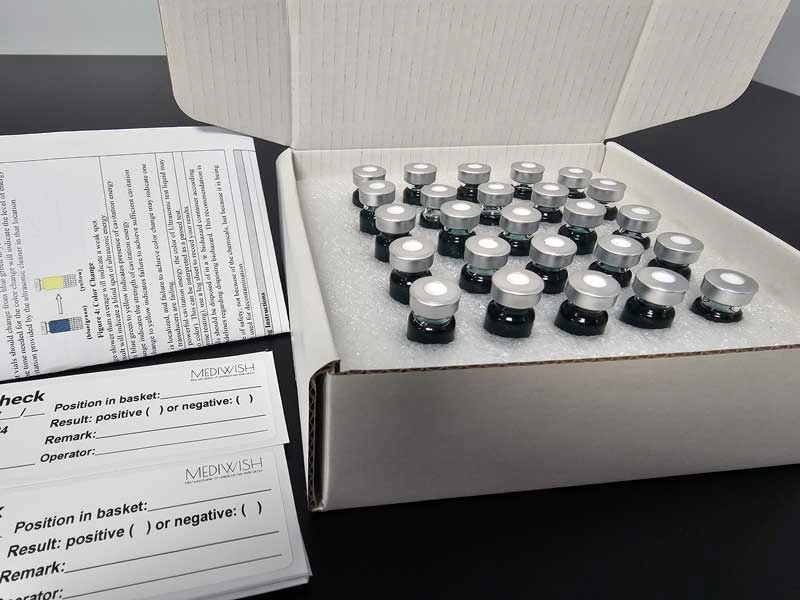
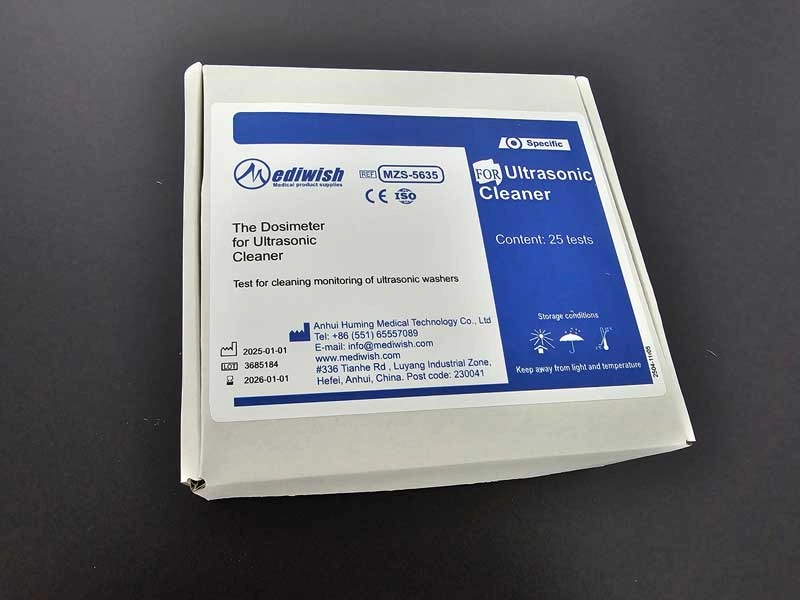
The following example applies to MZS-5635 sealed cavitation indicator vials, following IFU Rev. 01. It is not a universal procedure for strips, foil or other vials.
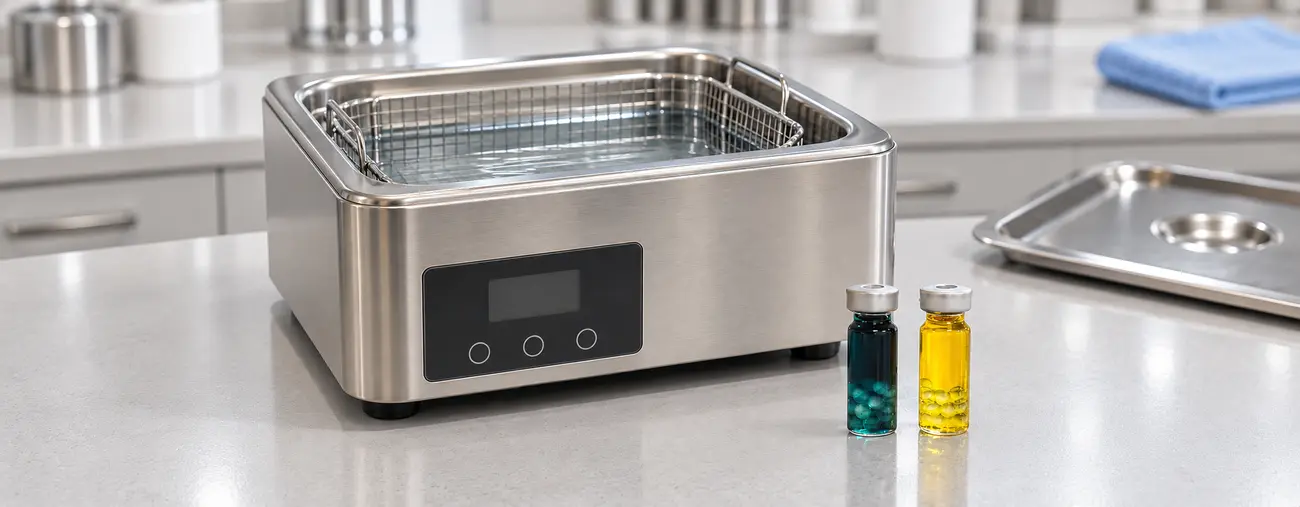
- Check that the vial is sealed, undamaged, within expiry and blue-green before use. The specified operating range is at least 35 kHz and a bath temperature of 18–70 °C.
- Prepare and degas the bath as instructed. Use an empty basket or tray without instruments or production load.
- Place the vial at the defined test position. Keep it sealed, fully submerged and horizontal throughout the ultrasonic cycle.
- Run the full, uninterrupted 5-minute cycle. An early colour change does not shorten the test. An exposure below 3 minutes is not interpretable under this IFU.
- Remove the vial immediately after the ultrasonic stage. Read preferably within 1 minute and no later than 5 minutes after cycle completion. Record the result at this time.
According to the result interpretation guide, transparent yellow at the defined endpoint is acceptable at the tested location; green or light green is unsatisfactory, and unchanged blue-green indicates failure under the applied conditions. Yellow reached only after the standard cycle, within a diagnostic extension to 7 minutes, is a delayed response—not a standard acceptable result. Later fading or reversal must not change the recorded result.
4. Placement, mapping and records
Use the routine or mapping arrangement in the current product IFU. A routine check follows defined reference positions; mapping compares several positions under the same conditions. For MZS-5635, treat each level as a separate test plane and each bay as an independent tank, as described in the IFU. Follow its layout requirements rather than inventing a universal number of vials for every bath.
Record the cleaner ID, position, bath conditions, cycle, product REF, LOT, expiry, read time, result, operator and any corrective action. Use the routine test log or periodic mapping record. This supports comparison over time; it is not a calibrated energy map or complete equipment qualification.
5. Investigate an unexpected result
Check the product condition, liquid level, chemistry, temperature, degassing, basket, position and uninterrupted exposure against the applicable instructions. Repeat according to the established procedure. If the problem persists, follow the cleaner manufacturer's service route and the facility's process-control procedure. A single result cannot identify a particular failed transducer.
6. Set the testing frequency
Use the equipment instructions, applicable requirements and the facility's documented procedure to define routine checks, periodic mapping and checks after service or a relevant change. There is no universal daily or weekly schedule for every cleaner and test method.
For a physical foil procedure, see how to perform an ultrasonic cleaner foil test. To select a product for the chosen method, browse ultrasonic testing products.