How to prepare, position, assess and document a physical foil test using the equipment instructions and consistent conditions, without treating perforations as proof of cleanliness.
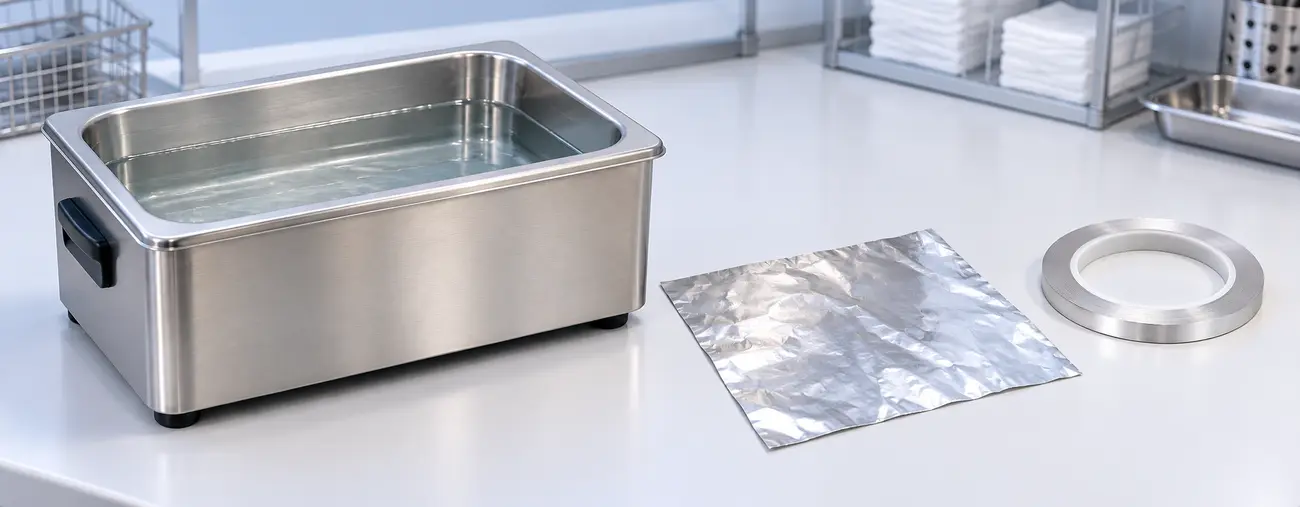
The aluminium foil test is a physical check of cavitation effects in an ultrasonic bath. The observed erosion pattern depends on the material and the test conditions. It can support a repeatable functional check, but it does not determine whether an instrument is clean or sterile.
1. Define the material and the comparison
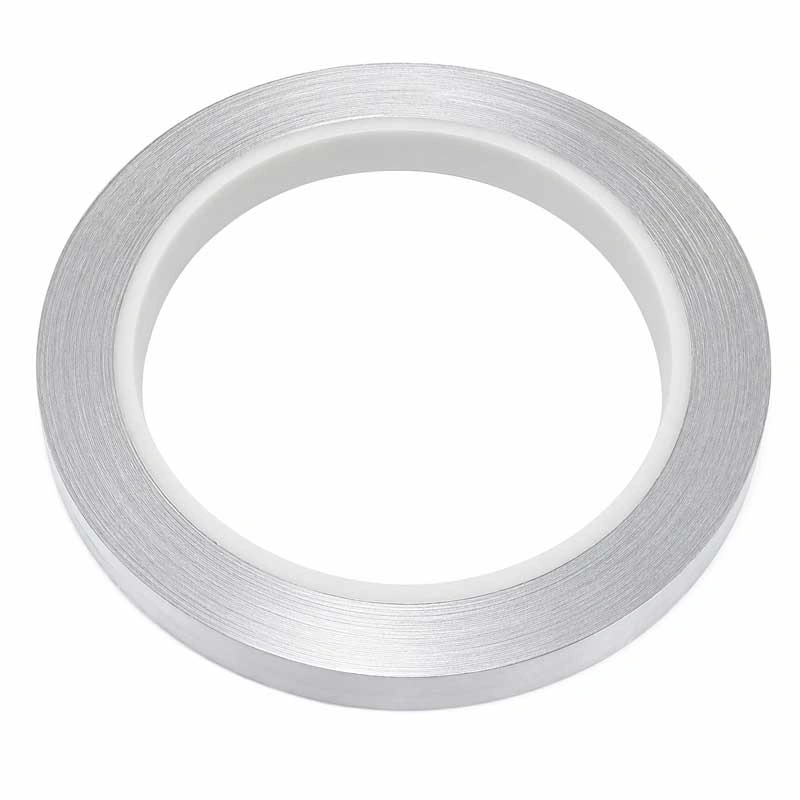
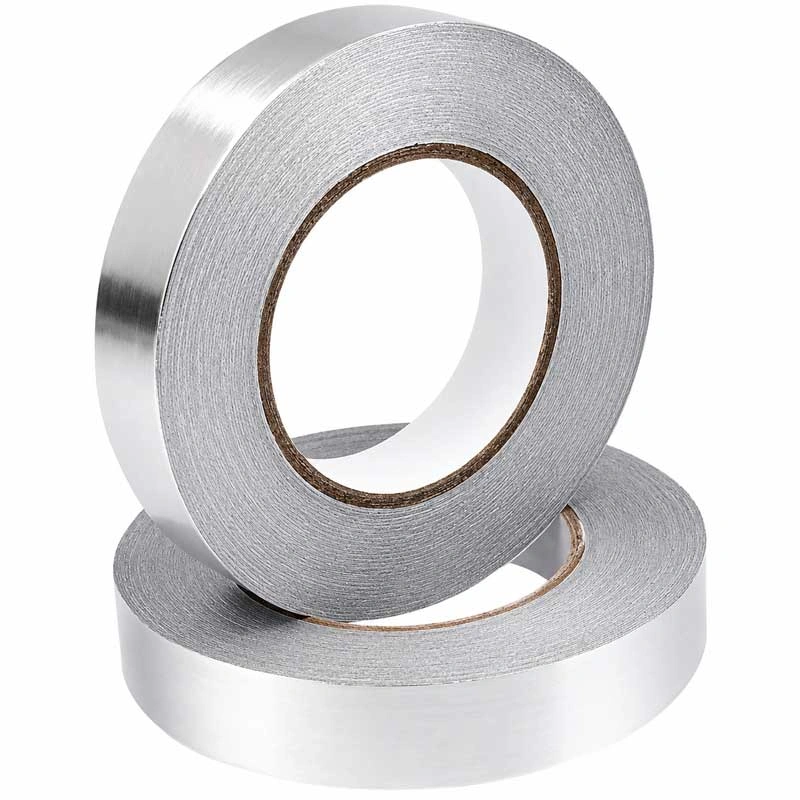
Select foil of the type, thickness and dimensions specified by the applicable procedure. Keep the material specification, fixture and placement consistent between comparisons. Do not assume that a roll, a complete kit and ordinary household foil are interchangeable.
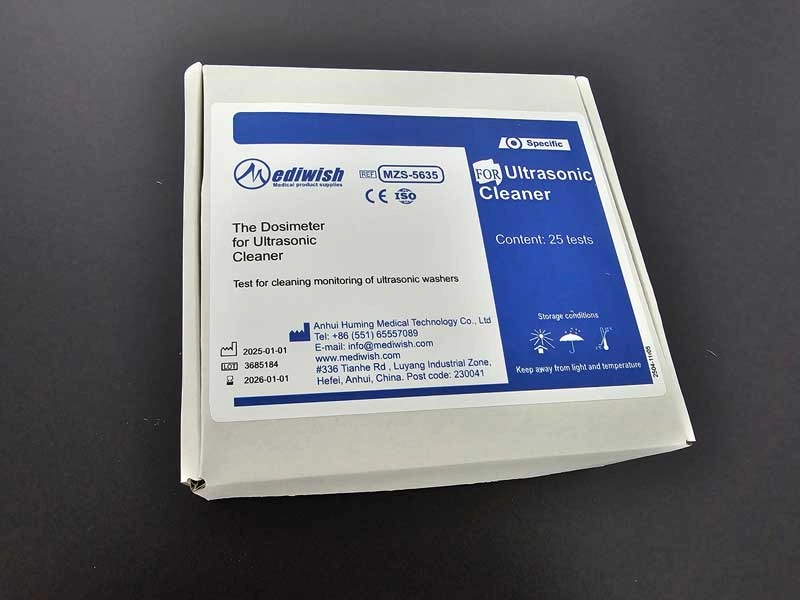
For the MEDIWISH ultrasonic foil test product, confirm the supplied format and current specification before ordering or establishing a baseline. The published product information and the older manual contain different width references; neither value is adopted as a universal requirement here.
2. Prepare the bath
- Identify the cleaner and the procedure to be used. Record the equipment ID and planned test positions.
- Prepare the liquid, detergent concentration, fill level and temperature according to the equipment and detergent instructions. Degas as specified.
- Use the loading condition required by the procedure. Follow the manufacturer's precautions when installing or removing the fixture and handling the liquid.
3. Position and expose the foil
Secure the foil using the specified fixture so that its position and orientation can be repeated. Keep it from contacting the tank bottom; follow the equipment instructions for all other clearances and placement. Avoid handling damage that could be mistaken for test erosion.
Run the exposure stated in the applicable equipment procedure. There is no universal 30-second or 5-minute foil test. Do not transfer the MZS-5635 vial cycle to foil or extend the test simply until holes appear.
4. Assess against a suitable baseline
After the prescribed exposure, stop and remove the foil as instructed. Inspect and document the erosion or perforation pattern using the agreed acceptance criteria and a reference obtained under comparable conditions. Assess the distribution and extent of the changes, including differences between the defined positions.
An absence of holes cannot by itself establish a specific equipment fault without checking the procedure, material and comparison conditions. Extensive erosion is not automatic evidence of effective instrument cleaning. If the result is unexpected, verify the setup and repeat under the established procedure; use the manufacturer's service route if the problem persists.
5. Record and clean up
Keep the equipment ID, date, operator, foil specification, fixture position, liquid conditions, degassing, exposure and assessment together. Archive a photograph or scan with the baseline and any corrective action. Set the checking frequency through the equipment instructions and the facility's documented procedure.
After testing, remove foil fragments and clean or rinse the tank as instructed by the equipment manufacturer before returning it to use.
Limits and other methods
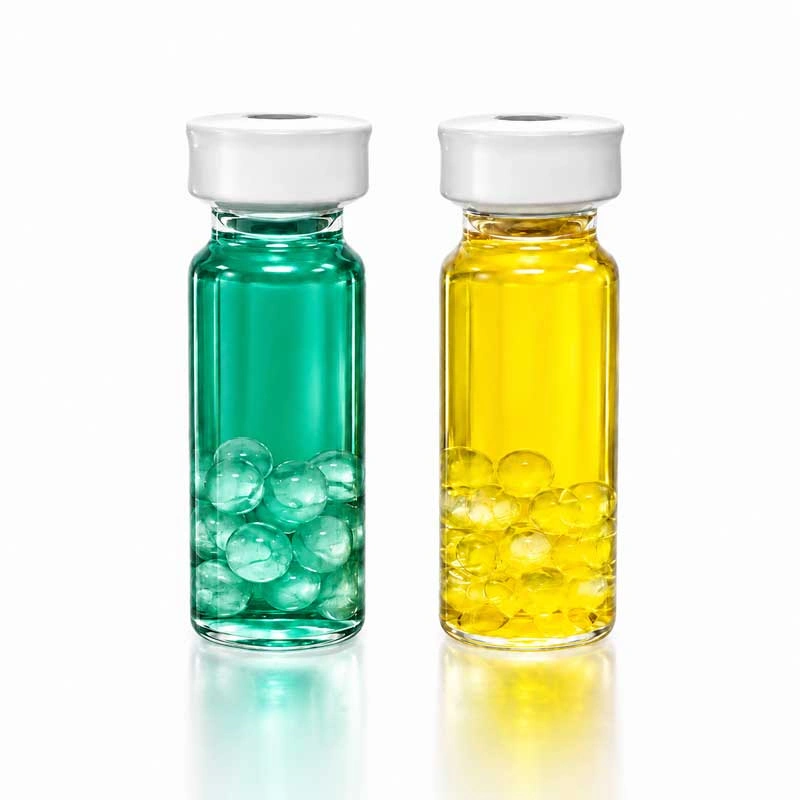
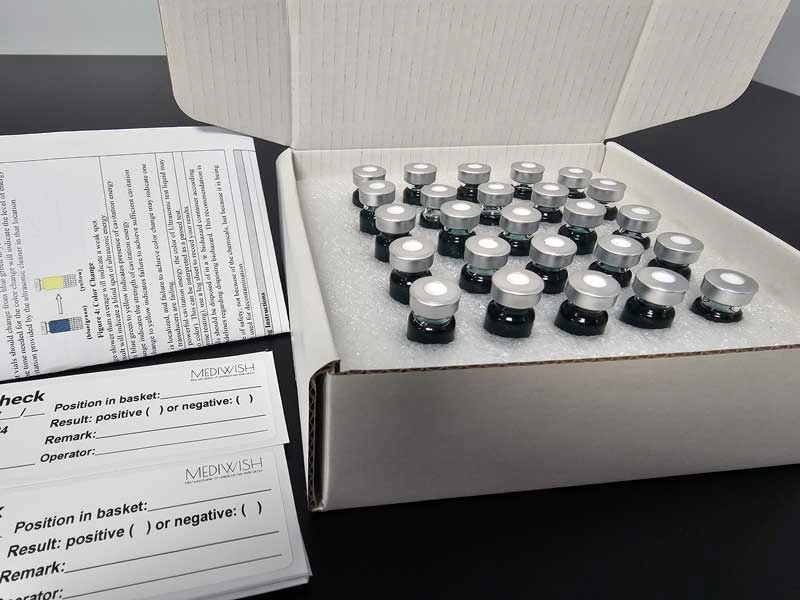
Foil tests do not measure residual protein, establish disinfection or demonstrate sterility. MZS-5635 cavitation vials use a different qualitative colour response at defined positions and have their own IFU; the two methods are not interchangeable. See the comparison of methods and the general ultrasonic-cleaner testing guide to choose the appropriate check.
Source instructions
Consult the published MEDIWISH foil-test manual (English) together with the cleaner's current instructions. Its example timings and dimensions are not universal limits. For an equipment manufacturer's explanation of repeatable foil comparisons, see BANDELIN's foil-test guidance (English); model-specific settings must remain with that manufacturer's equipment procedure.